
- Outcome-driven KPIs & reviews
- US, UK & EU delivery experience
- High retention, stable teams
- Ongoing code reviews
- Fast onboarding (4-5 days)
- Pre-vetted senior developers
- Direct developer access
- Flexible engagement models
- Timezone-aligned collaboration
- Strong IP & data security


- 300+ Global Clients
- 4.9/5.0 Verified Clutch Rating
- 400+ Engineers & Specialists
- 95% Client Retention

About eSparkBiz
Why eSparkBiz for Node.JS Development Services?

Transform Backend Performance Through Expert Node.js Development
Growing businesses cannot afford backend systems that struggle under rising traffic or evolving customer expectations. With Node.js trusted by 6.6% of all websites, eSparkBiz combines AI-assisted engineering with proven Node.js expertise to build scalable, high-performance applications that accelerate sustainable digital growth.
Our Node.js experts develop enterprise platforms, real-time applications, and API ecosystems optimized for speed, resilience, and scalability. By strengthening application architecture and reducing maintenance complexity, we help businesses innovate faster while delivering consistent performance as demand continues to grow.
What our Node.js expertise means for your business
- Faster request processing through asynchronous execution
- Event-driven architectures for high concurrency
- Microservices and cloud-native architecture expertise
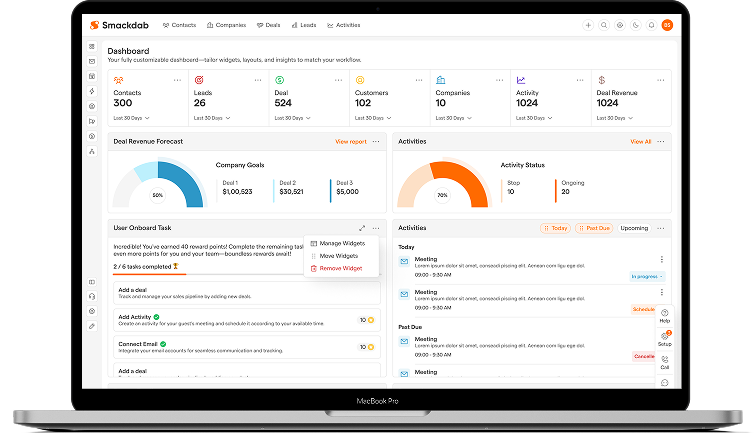
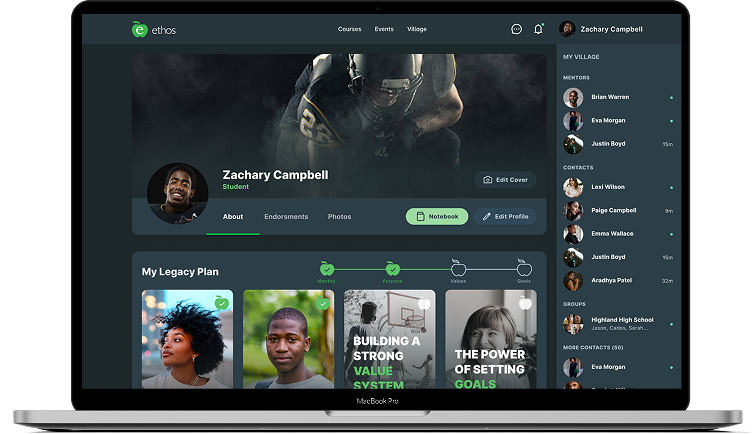
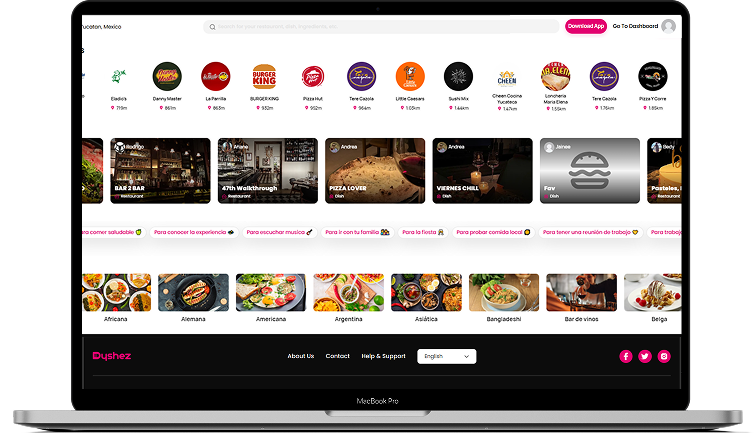
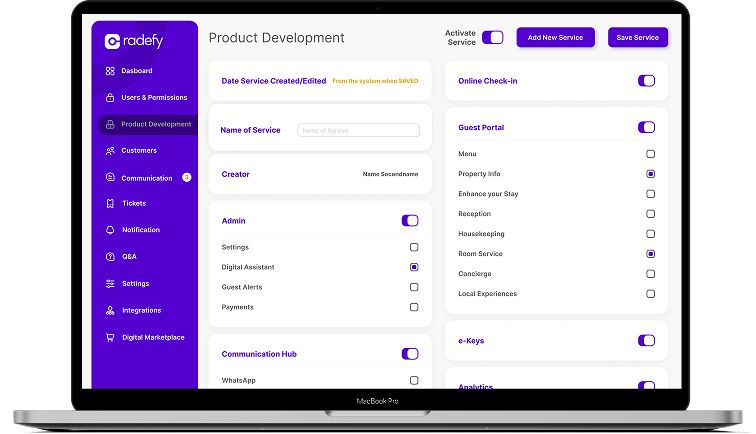
Success Stories

- Engagement Model Product Engineering Partnership
- Engagement length 48+ Months
- Market Stage Live & Scaling
- Team Member 20+ Team Members
- Services Provided End-to-End Product Engineering

- Engagement Model Dedicated Product Team
- Engagement Length 24+ Months
- Market Stage Live & Scaling
- Team Members 5+ Team Members
- Services Provided End-to-End Product Engineering

- Engagement Model Dedicated Product Team
- Engagement Length Long-Term Engagement
- Market Stage Live & Scaling
- Team Member 6+ Team Members
- Services Provided End-to-End Product Engineering

- Engagement Model Enterprise Engineering Partnership
- Engagement Length 24+ Months
- Market Stage Growth & Scaling Phase
- Team Member 4+ Team Members
- Services Provided PMS Integration & Hospitality API Integration Services

- Engagement Model Product Engineering Partnership
- Engagement Length 12+ Months
- Market Stage Live & Scaling
- Team Member 6+ Team Members
- Services Provided End-to-End Product Engineering
Proven work. Measurable outcomes.
See how we deliver on complex, high-impact Initiatives.End-to-end NodeJS Services
Node.js Development Services We Offer
- Node.js web Development
- CMS Development
- IoT Application Development
- API Development
- Microservices Architecture
- E-commerce Solutions
- Node.js Maintenance & Support
- Node.js Product Development
- Real-Time Web Socket Programming

Node.js web Development
We are a leading Node.js development company known for best web application development solutions using Node.js. Our talented Node.js developers can help you grow your business and stand the fierce competition with the intuitive web and mobile apps they can build. We also specialize in web development and mobile app development, creating applications tailored for mobile platforms.
At eSparkBiz, our team is capable of handling all the aspects of a project including the routing and middleware, deployment and performance monitoring. When it comes to creating real time chat applications or high volume ecommerce websites, we guarantee that your web applications are optimized for growth and high performance.

CMS Development
As the best Node.js development company, eSparkBiz provides custom CMS development services. Here, we use the simplicity and versatility of Node.js, with the help of frameworks like Express.js, MongoDB and NestJS for efficient content management.
Our developers can incorporate user authentication using interfaces such as Passport. js or JWT, so that you can have a perfect CMS experience that is customized for your enterprise.

IoT Application Development
At eSparkBiz, we leverage Node.js for creating secure and scalable IoT applications. Node.js is popular in IoT development because it has a quick execution time. Because of that it can work with the most commonly used IoT protocols.
Thanks to its event driven architecture and open-source characteristics, designing IoT solutions with Nodejs that heavily rely on data and require smooth connectivity and data exchange across devices.

API Development
As a trusted Node.js development company, we specialize in developing RESTful and GraphQL APIs that can be easily scaled. Node.js’ single-threaded, event driven architecture design effectively handles multiple requests and reduces waiting time.
Our experience with such frameworks as Express. js, Restify, and Swagger foster the API development process and guarantee that the resulting applications are reliable and efficient.

Microservices Architecture
Here at eSparkBiz, we are experts in developing Node.JS Microservices architectures that are scalable. Node is a lightweight and modular system which makes it a popular platform for app development.
Node.js also supports resource usage and empowers developers to build componentized services that can be provisioned, tested, and scaled independently. To speed up microservices development, our team uses the Node Package Manager ecosystem that enhances system robustness and flexibility.

E-commerce Solutions
eSparkBiz supports Node.js as it can be used dynamic e-commerce development solutions, due to its flexibility and fast execution. With the non-blocking I/O model, Node.js can handle many users without a glitch.
Also, with the implementation of NestJS and Express.js, we perform basic e-commerce operations such as payments and authentication, which enhances the customers’ experience and increases ROI. Additionally, our expertise in mobile app development allows us to create versatile mobile applications, utilizing modern technologies and frameworks to deliver high-quality mobile development solutions for various industries.

Node.js Maintenance & Support
We are committed to offering the superior maintenance and support services to ensure and improve the stability of the software with Node.js. We use Node.js scripts for performing common administrative tasks like database backup and system monitoring.
We offer Consulting services for error logs, debugging tools, and health checks to ensure that your applications are improved to run efficiently in this modern Javascript runtime environment.

Node.js Product Development
To meet the emerging demands of customers, we help you build lightweight, super-fast, feature-loaded and scalable web applications.
Outsource your project to top Node.js development companies like eSparkBiz to develop result-oriented web services and stay at the top of your competitors.

Real-Time Web Socket Programming
An application’s success is largely measured by the response time of the user-requested query. The developers at top Node.js development companies like eSparkBiz implement real-time web socket programming while developing any web application to take benefits of low latency.
Top Node js development companies also integrate DevOps best practices to enhance collaboration and efficiency in software development, breaking down silos between development and operations for faster and more effective product releases.
Empower your Business Workflow. Outsource Node.js Development without the hassle.
Why eSparkBiz
Why Partner with eSparkBiz?
We combine deep Node.js expertise, scalable architecture, and proven delivery practices to help businesses build secure, high-performance backend solutions.
-
Our Developers have 5 years of experience in on average.
-
Profound expertise in Result-oriented Technology Stacks.
-
Full-scale Project Management Office to manage dedicated teams.
-
Certified Scrum masters on board.
-
Quality and security management practices backed by ISO 9001 and ISO 27001 certificates.
-
Live monitoring of progress for clarity.
-
A Secure work environment with the priority of data safety.
 15+ Years of Expertise
  100% NDA-protected Contract
  95% Client Retention Rate
  Access to 45+ Technologies


- eCommerce Web App Development
- REST API Integration
- Secure Payment Systems
- Node.js Chatbot Development
- Real-Time Chat Application
- Node.js Integration with SAP
- Image Processing Apps
- System Monitoring Dashboards
- Web Hosting Platforms
- Social Networking Apps
- Content Management Application
- Streaming Applications
- Data-Oriented Backend Modules
- Seamless Integration with AWS Amplify
- Serverless Microservices App
The Node.js Ecosystem We Use for Result-driven Outcomes
-
Frontend
9
-
Backend
6
-
Desktop
5
-
Database
19
Desktop
- C++
- C#
- Qt
- Objective-C
Database
- Async Storage
- Azure SQL Database
- Cassandra
- Core data
- Firebase
- Firestore
- Apache Hive
- MongoDB
- MySQL
- ObjectBox
- Oracle
- PostgreSQL
- Realm
- Redis
- Room Persistence Library
- Sembast
- SQLite
- WatermelonDB
Process
Engineering Delivery Framework
Align technology with your business goals.
Every engagement starts with understanding your business objectives, users, technical challenges, and product vision. Together, we define a roadmap that minimizes uncertainty and creates a clear path to successful delivery.- Business Requirement Document
- Technical Feasibility Report
- Stakeholder Alignment Map
- Project Roadmap with Milestones
- Competitive Landscape Summary
Create intuitive experiences and scalable architecture.
Our designers and solution architects collaborate to create user-centric experiences and a technical foundation that supports long-term growth, security, and maintainability.- Functional Requirement Document
- Clickable Figma Prototype
- Solution Architecture Diagram
- Database Schema
- API Specification Sheet
Deliver software through agile engineering.
Dedicated cross-functional teams develop your product in short, iterative sprints, enabling continuous feedback, rapid releases, and complete project transparency throughout the development lifecycle.- Working Sprint Builds
- API Integration Map
- Version Controlled Code Repository
- Sprint Burndown Reports
- Technical Documentation Wiki
Build quality into every release.
Quality engineering is integrated throughout development, not left until the end. Automated testing, peer reviews, and security validation ensure reliable, production-ready software at every milestone.- Test Case Documentation
- Automated Test Coverage Report
- Security Vulnerability Assessment
- Performance & Load Test Results
- UAT Sign-off Checklist
Release with confidence.
We automate deployment pipelines and implement modern DevOps practices to deliver secure, reliable, and seamless releases while minimizing operational risk and downtime.- CI/CD Pipeline Configuration
- Production Deployment Runbook
- Infrastructure-as-Code Scripts
- Rollback & Disaster Recovery Plan
- Go-Live Readiness Checklist
Continuously improve and evolve your product.
Launching software is only the beginning. We continue to optimize performance, introduce new capabilities, strengthen security, and scale your engineering capacity as your business grows.- Performance Benchmark Report
- Cloud Cost Optimization Summary
- Quarterly Enhancements Roadmap
- Security & Compliance Audit Log
- Engineering Capacity Scaling Plan
Ready to Streamline your NodeJS Development?
Testimonials
Our Clients Say About Us
We focus on making clients happy and always appreciate their opinions. We aim to provide superior services to earn trust and to become a go-to choice in the Software industry.


Useful Resources
Useful Resources for NodeJS Development
We deliver curated expert knowledge-driven content, offering strategic depth, industry relevance, and actionable insights for confident technology decisions.

Python Development
Achieve Scalable Outcomes with Advanced Python Development Expertise

.NET Development
Achieve Enterprise Solutions with Advanced .NET Expertise

Laravel Development
Engineer Secure Web Platforms with Laravel Development Excellence

NestJS Development
Engineer Scalable Backend Platforms through NestJS Expertise

Golang Development
Build High-Performance Systems powered by Golang Expertise

Java Development
Enable Business Growth with Advanced Java Development Expertise
Expert Insights
Expert Insights for NodeJS Development
We actively analyze emerging technologies and applications, publishing insightful articles. Access our latest expert blogs and updates for valuable industry knowledge.


FAQs
Frequently Asked Questions
Get expert answers to common questions about our Node.js capabilities, project delivery approach, and service scope tailored for enterprise-grade development.
What are the benefits of using Node.js for development?
Node.js is suitable for building fast and scalable applications. Its event-driven architecture helps handle multiple requests efficiently, making it ideal for APIs, real-time features, and backend systems that need high performance and reliability.
Why choose eSparkBiz for Node.js development projects?
eSparkBiz provides experienced Node.js developers, agile delivery models, and secure architecture to deliver robust applications tailored to client-specific goals and industry standards.
What types of applications are ideal for Node.js?
Node.js is ideal for single-page apps, real-time dashboards, IoT platforms, API services, and scalable enterprise systems with high I/O requirements and low-latency expectations.
How does Node.js enhance application performance and scalability?
Node.js uses a non-blocking, event-driven model that improves response time and supports thousands of concurrent users, making it ideal for modern web applications.
Can you integrate Node.js apps with other systems or platforms?
Yes, Node.js integrates easily with databases, third-party APIs, cloud services, and microservices, ensuring seamless connectivity across platforms and business ecosystems.
How much does it cost to hire a Node.JS Development Company?
Node.js development costs typically range from $5,000 to $50,000+, depending on features, complexity, and team size.
How long does a typical Node.js development project take?
Timelines vary based on complexity, but most projects range from 4 to 12 weeks. We prioritize rapid development cycles while maintaining high-quality standards.
What engagement models does eSparkBiz offer for Node.js projects?
eSparkBiz offers flexible models including dedicated teams, fixed-cost projects, and time & material billing—customized to fit client timelines, budgets, and goals.
Which are the top NodeJS development companies in 2026?
Top Node.js development companies in 2026 include eSparkBiz, Serokell, Vention, AgileEngine and Kitrum. These firms are known for building high-performance, scalable Node.js applications, utilizing the latest tools and technologies to deliver efficient, secure, and feature-rich solutions for diverse industries.
How secure are applications built with Node.js?
- Node.js applications can be secure when standard security practices are followed.
- This includes proper authentication, secure APIs, regular updates, and careful dependency management.
- With the right implementation, Node.js supports enterprise-level security requirements.
What notable companies are using Node.js?
Many global companies use Node.js, including Netflix, PayPal, LinkedIn, Uber, Walmart and Trello. They use it to support scalable backend systems and handle large volumes of traffic.
Do you provide Node.js consulting services?
Yes, we provide Node.js consulting services to help with architecture planning, performance improvement, and backend modernization. Our consulting focuses on choosing the right technical approach based on project needs.
What development process do you follow?
We follow an agile development process with iterative delivery and regular communication. Work is organized in sprints with continuous feedback, testing, and progress tracking.
Do you provide NDA and IP protection for my project?
Yes, we provide NDA coverage and ensure full intellectual property protection. All project code and deliverables remain the client’s property, and confidentiality is maintained throughout the engagement.


